Hey there, tech enthusiasts! If you're diving into the world of Raspberry Pi, you're probably wondering how to take full control of your device remotely. Well, buckle up because today we're diving deep into raspberry pi remote control ssh. This isn't just any ordinary topic—it’s your gateway to mastering remote access, troubleshooting, and even automating tasks on your beloved Raspberry Pi. So, let’s get started, shall we?
Picture this: you're chilling at a café, sipping your latte, and suddenly you need to check on your home server powered by Raspberry Pi. What do you do? Panic? Nope! With SSH (Secure Shell), you can remotely connect to your Raspberry Pi as if you're right there in front of it. It’s like having a virtual hand that can tweak settings, run scripts, or even reboot your device—all from miles away.
Now, before we dive into the nitty-gritty details, let me assure you that this guide is packed with actionable insights, practical tips, and even a few tricks up its sleeve. Whether you're a beginner or an advanced user, this article will help you harness the full potential of Raspberry Pi remote control SSH. So, without further ado, let’s jump right in!
Table of Contents
- Introduction to Raspberry Pi Remote Control SSH
- What is SSH and Why Use It?
- Setting Up SSH on Your Raspberry Pi
- Connecting to Your Raspberry Pi Remotely
- Securing Your SSH Connection
- Troubleshooting Common SSH Issues
- Advanced SSH Features for Raspberry Pi
- Alternatives to SSH for Remote Control
- Best Practices for Using SSH
- Conclusion and Final Thoughts
Introduction to Raspberry Pi Remote Control SSH
Alright, let's break it down. SSH, or Secure Shell, is a protocol that allows you to remotely access and control your Raspberry Pi securely. It's not just about convenience; it’s about efficiency and flexibility. Imagine being able to manage your Raspberry Pi projects without needing a monitor, keyboard, or mouse. Sounds pretty cool, right?
Why SSH Matters for Raspberry Pi
SSH is more than just a tool—it’s a lifeline for anyone working with headless setups or managing servers. For Raspberry Pi users, it means you can:
- Access your Pi from anywhere in the world.
- Run scripts and commands without physical access.
- Streamline your workflow by automating tasks.
And the best part? It’s free, open-source, and super easy to set up once you know the ropes.
What is SSH and Why Use It?
SSH stands for Secure Shell, and it’s a network protocol designed to provide secure communication between two devices. When you use SSH to connect to your Raspberry Pi, you’re creating a tunnel that encrypts all data transferred between your computer and the Pi. This ensures that no one can eavesdrop on your activities, making it ideal for sensitive tasks.
Benefits of Using SSH
Here’s why SSH is the go-to method for remote control:
- Highly secure with encryption.
- Supports file transfers via SCP (Secure Copy Protocol).
- Compatible with most operating systems.
- Lightweight and resource-friendly.
Whether you're setting up a home automation system or running a web server, SSH gives you the power to manage everything remotely.
Setting Up SSH on Your Raspberry Pi
Now that you know what SSH is, let’s talk about how to enable it on your Raspberry Pi. Don’t worry—it’s easier than you think.
Step 1: Enable SSH on Raspberry Pi
Starting with Raspbian (the official Raspberry Pi OS), SSH is disabled by default for security reasons. But enabling it is a breeze:
- Boot up your Raspberry Pi and log in.
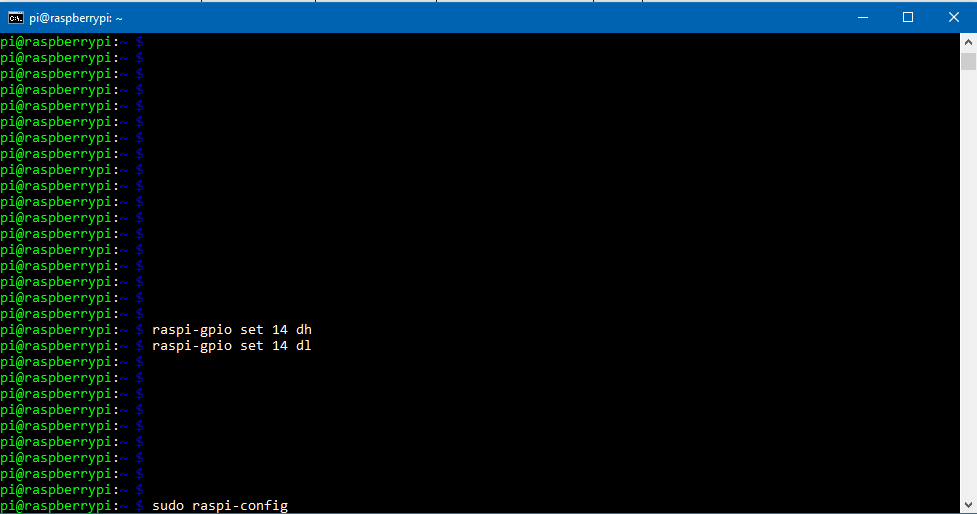
- Open the terminal and type:
sudo raspi-config. - Navigate to "Interfacing Options" → "SSH" → "Enable".
- Reboot your Pi with:
sudo reboot.
And just like that, SSH is ready to roll!
Connecting to Your Raspberry Pi Remotely
With SSH enabled, it’s time to connect to your Raspberry Pi from another device. Here’s how you do it:
Using Terminal (Mac/Linux)
For Mac and Linux users, the process is straightforward:
- Open your terminal application.
- Type:
ssh pi@. - Enter your Raspberry Pi password when prompted.
Voilà! You’re now connected to your Pi remotely.
Using PuTTY (Windows)
Windows users will need a third-party tool called PuTTY:
- Download and install PuTTY from their official website.
- Launch PuTTY and enter your Pi’s IP address in the "Host Name" field.
- Click "Open" and log in using your Pi credentials.
Easy peasy, right?
Securing Your SSH Connection
While SSH is inherently secure, it’s always a good idea to add extra layers of protection. Here’s how you can make your SSH connection even safer:
Change the Default Port
By default, SSH runs on port 22. Changing it to a non-standard port can deter automated attacks:
- Edit the SSH config file:
sudo nano /etc/ssh/sshd_config. - Find the line:
Port 22and change it to a different number (e.g., 2222). - Restart the SSH service:
sudo service ssh restart.
Disable Root Login
Disallowing root login adds another layer of security:
- In the same
sshd_configfile, find:PermitRootLogin yes. - Change it to:
PermitRootLogin no. - Save and restart SSH.
Troubleshooting Common SSH Issues
Even the best-laid plans can go awry sometimes. Here are some common SSH issues and how to fix them:
Connection Refused
If you’re getting a "Connection refused" error, check the following:
- Is SSH enabled on your Pi?
- Are there firewall rules blocking the connection?
- Is your Pi’s IP address correct?
Password Authentication Failed
This usually happens due to incorrect login credentials. Double-check your username and password, and ensure that password authentication is allowed in the SSH config file.
Advanced SSH Features for Raspberry Pi
Once you’ve mastered the basics, it’s time to explore some advanced SSH features:
SSH Tunnels
SSH tunnels allow you to securely forward traffic between your local machine and the Raspberry Pi. This is especially useful for accessing services like web servers or databases:
- Use the command:
ssh -L.: : pi@ - For example:
ssh -L 8080:localhost:80 pi@192.168.1.100forwards traffic from port 8080 on your local machine to port 80 on the Pi.
Key-Based Authentication
Instead of passwords, you can use SSH keys for more secure and convenient login:
- Generate a key pair:
ssh-keygen. - Copy your public key to the Pi:
ssh-copy-id pi@. - Log in without entering a password.
Alternatives to SSH for Remote Control
While SSH is the gold standard, there are other ways to remotely control your Raspberry Pi:
VNC (Virtual Network Computing)
VNC allows you to access the graphical desktop of your Pi from another device. It’s great for tasks that require a GUI, but it’s heavier than SSH.
Web-Based Interfaces
Some projects, like Home Assistant or Pi-hole, come with web-based dashboards. These let you manage your Pi through a browser, eliminating the need for SSH altogether.
Best Practices for Using SSH
To make the most of SSH, follow these best practices:
- Always use strong, unique passwords.
- Enable two-factor authentication if possible.
- Regularly update your Raspberry Pi’s software.
- Monitor login attempts for suspicious activity.
By adhering to these guidelines, you’ll ensure a secure and hassle-free SSH experience.
Conclusion and Final Thoughts
And there you have it—a comprehensive guide to mastering Raspberry Pi remote control SSH. From setting up SSH to securing your connection and exploring advanced features, this article has covered everything you need to know. Remember, SSH isn’t just a tool; it’s a powerful ally in your Raspberry Pi journey.
So, what are you waiting for? Start experimenting with SSH today and take your Raspberry Pi projects to the next level. And if you found this guide helpful, don’t forget to share it with your fellow Pi enthusiasts. Happy tinkering, and see you in the next one!